During the on-boarding process, you would have gone through the registration and confirmation process where you enter your email address and your preferred password.
Once you have correctly enter your email address and password, you will be directed to the dashboard area of Oojeema.
Note:If you have forgotten your password, click on forgot password link and enter the email address you used in registering for an account.
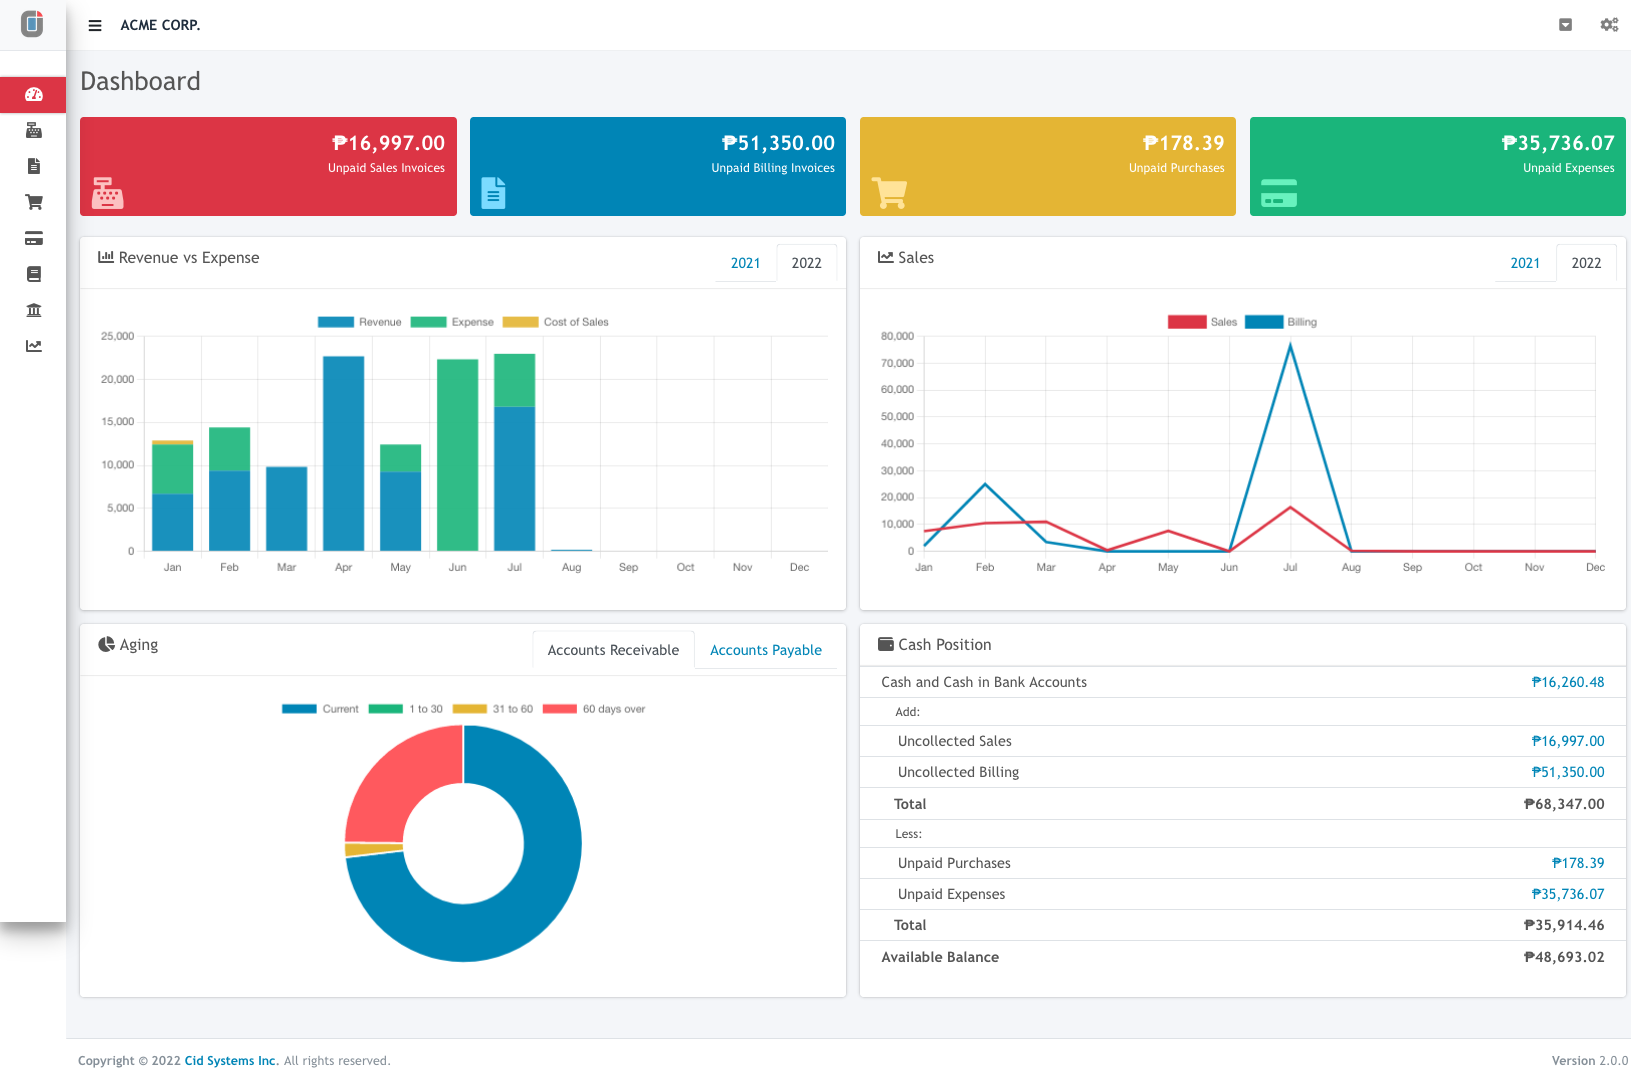
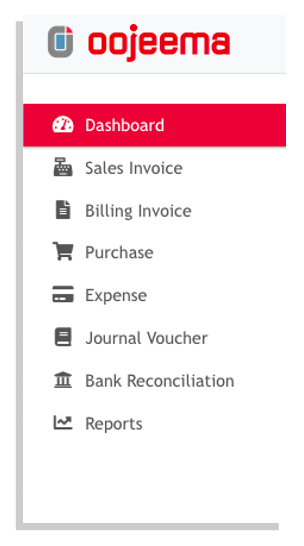
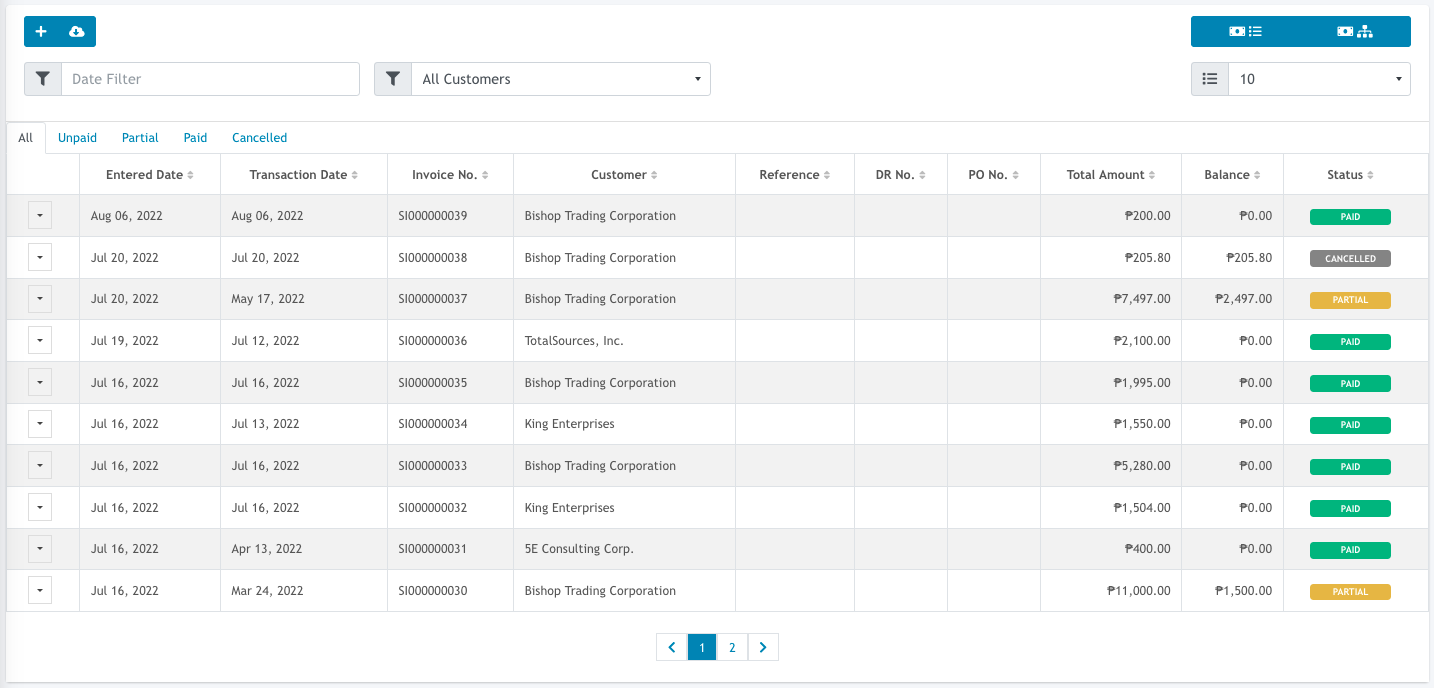
The first thing you would see when you sign-in is the dashboard where you can see the cards, charts, cash position, the side bar, and the navigation bar where you can set your profile, and settings.
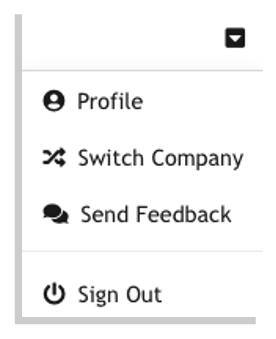
1. The profile icon is the first icon in the upper right hand corner of the screen.
Profile – going into the profile page allows you to change your password as well as your name. Though you cannot change the email address used since this is part of you sign-in credentials
Switch Company – If you are a user to more than one company, this option appears so you may switch between companies without having to sign-out and sign-in.
Send Feedback – select this option if you wish to send a comment, report a bug, or a feature request.
Sign Out – click here if you want to sign-out of Oojeema
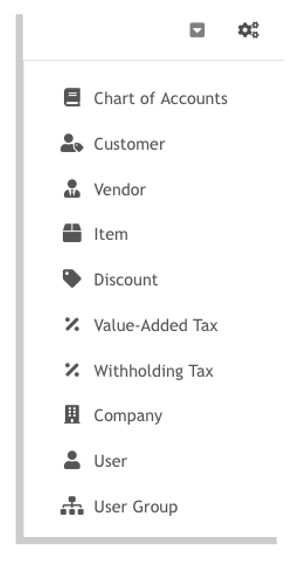
The settings section lets you manage all of the data that you would need in order to complete your transactions and helps Oojeema automatically generate the reports you would need.
The Customer, Vendor, and Item data can also be added while doing your transactions on-the-fly. So you don’t need to set them up here.
The tax tables under Value-Added Tax and Withholding Tax are automatically updated and maintained by the Oojeema Team.
From the very beginning, Oojeema was designed from the perspective of entreprenuers, freelancers – generally non-accountants who would like to be able to record their own transactions while collaborating with their accountants. So the screens are designed so it would be easy to familiarize in the quickest time.
The header section is where you set the customer or vendor, the date and due date of the transaction. You can also enter other references related to the transaction you are making.